GUIDE: Printing Vinyl Stickers with the Roland VersaStudio BN-20
By Lia Davido
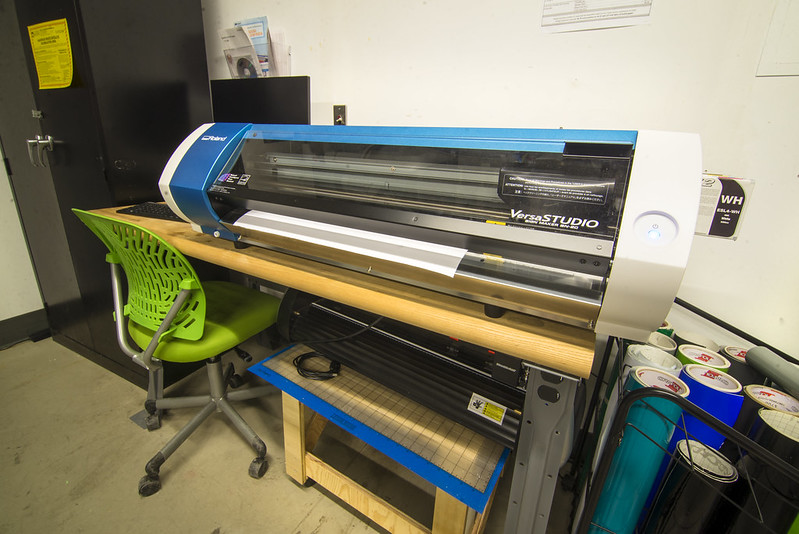
Interested in printing some custom vinyl stickers? The IMRC Center has you covered with the Roland VersaStudio BN-20.
The first thing you need to do when printing stickers from the Roland VersaStudio BN-20 is have a finished design, once that’s done it’s down to Adobe illustrator and Versaworks software.
After that, you’ll upload the graphics into illustrator and create the layout for your sticker sheet, the widest sheet you can make is 20inches. Leave around an inch on each side for the pinch rollers to move the vinyl sheet as it prints. At this point, you’ll also want to create the border around your sticker that will be cut, also called a cut line.
To guarantee this part of your sticker is cut and not just printed, there are two steps you’ll need to take.
- First, make sure the width of your cut line is .001. It could be in inches, it could be in points, but it must be .001 to be cut.
- Next, you’ll want to make sure the cut line is the correct color. It’s a pink that looks very similar to magenta, but if you hover over the swatch, adobe will say “cut color”, that’s how you know it’s the right one.
- To get to this color, you’ll need to go to the swatch library, user-defined, Versaworks.
- When you click on Versaworks a set of swatches will appear, including cut color.
Once you have the line width and color correct, you’re ready to import it into Versaworks. Save the sheet as a PDF and open the Versaworks application.
To import your sheet, click add to queue and choose queue A. After you’ve imported your project it’s time to create your settings and print it out. You can access the settings by double-clicking on the preview of your sheet or clicking the gear at the bottom of the screen. When you do this, take care to pay attention to your cut line. If it’s made of red dashed lines that are moving around the images, the Roland recognizes the cuts and will cut them out. If not, then the Roland does not see a cut line and will print the line out instead of cutting it. If this happens you’ll have to go back into adobe and check the line width and color.
Once that part is done, you’ll go through the setting and click the options “cut and print” and check off the cut settings. You can also check how long they’ll take to print in the quality setting.
Once you’ve gone through all these steps and double-checked your settings, it’s time to click the printer icon at the bottom of the screen and start printing your stickers. It’ll take the printer a few minutes to rip your file beforehand, but after that just sit back and wait for stickers to be printed and cut. After they’re done printing, lift the paper release, and cut your sheet off the vinyl roll.